You'll achieve a seamless drywall patch by preparing the area and applying the right amount of compound. Take your time to smooth out the patch and sand it lightly. This will save you time and frustration in the long run. By following these steps, you'll be on your way to a flawless blend, and continuing will help you perfect the technique to get the results you want.
Preparing the Area for Patching
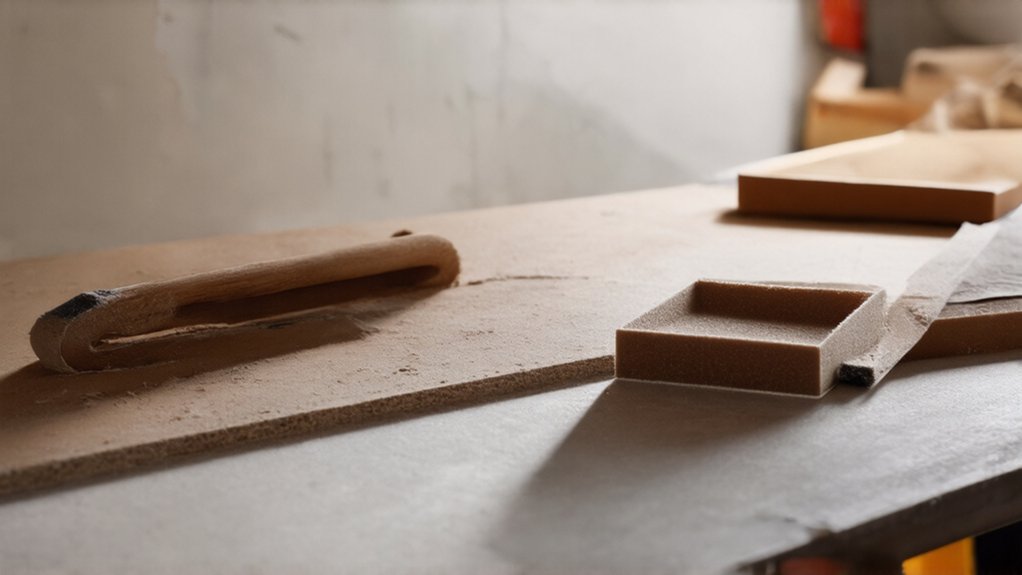
You're taking the first step towards a smooth drywall finish by preparing the area for patching. Inspecting the damage helps you understand what's needed. Look at the surrounding wall surface, noting its texture and condition. High-quality drywall materials like joint compound and fiberglass mesh tape can help ensure a professional-looking repair.
This preparation is key to a successful patch, so don't rush it. Take your time, and you'll be glad you did, as it'll make the rest of the process much easier, saving you time and frustration in the long run, and ensuring a great result.
Applying the Perfect Amount of Compound
Now that the area is prepared, it's time to think about the compound. You're working towards a seamless blend, and that starts with applying the right amount. Apply compound, using adequate pressure, to achieve consistent thickness. This helps you blend the patch with the surrounding wall, making it nearly invisible. You're part of a community that values quality work, and getting this step right is vital. Take your time, and don't be afraid to add or remove compound as needed. Local drywall contractors in Erie, PA have decades of experience perfecting this precise technique to ensure professional-grade wall repairs.
Smoothing Out the Patch
How smoothly will your patch blend in with the surrounding wall? You're making progress, and that's something to be proud of.
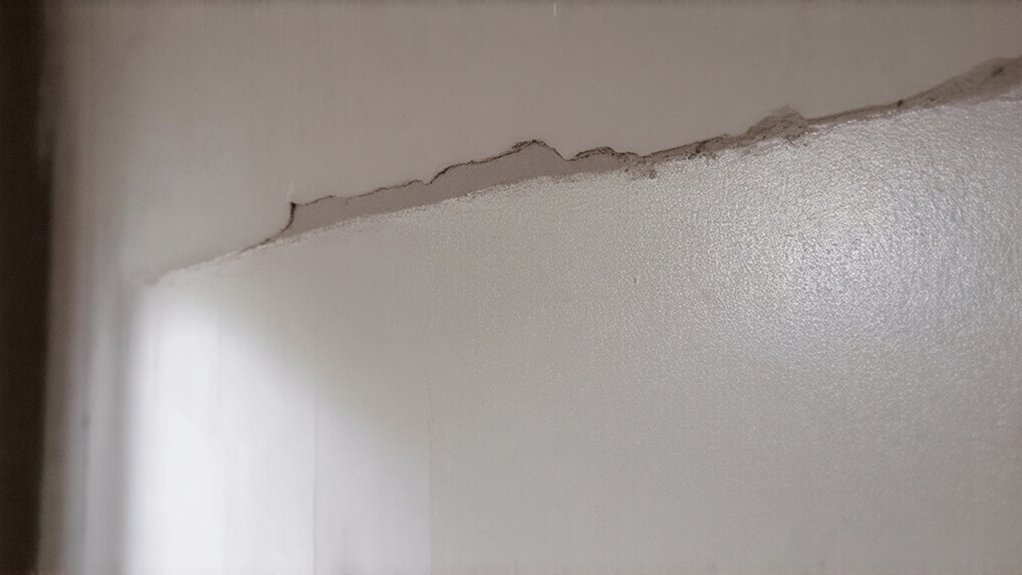
When smoothing out the patch, you're focusing on feathering the edges, creating a seamless merger. Minimizing brush strokes is key to avoiding noticeable marks. Take your time, and don't worry if it's not perfect – you're getting closer to a flawless finish, and that's what matters.
Sanding for a Seamless Finish
As you work towards a flawless finish, sanding plays a crucial role in blending your drywall patch. You'll need a proper sanding technique and careful dust control.
Consider these steps:
- Sand lightly
- Use fine grit
- Work in sections
- Vacuum dust regularly. This helps you achieve a seamless finish, making you feel confident in your work.
Finishing Touches for a Flawless Blend
You've made significant progress on your drywall patch, and it's starting to look seamless. Now, using a wet sponge, gently wipe the area to remove dust.
Checking for imperfections, inspect your work, making sure it's even. You're almost done, and your patience will pay off. Take a step back, and you'll see a flawless blend, feeling a sense of accomplishment and belonging in your newly renovated space.
Frequently Asked Questions
Can I Paint Over Drywall Tape?
You can paint over drywall tape, it'll help hide seams easily, and blend textures properly, making you feel like you're part of a beautifully finished space, you're creating a cohesive look.
How Long Does Compound Take to Dry?
You're wondering how long compound takes to dry, considering the drying time requirements, and you'll find the compound drying process usually takes 24 hours, don't you?
Can I Use Drywall Patch on Ceiling?
You're considering a drywall patch on your ceiling, thinking about textured ceiling application and patch thickness considerations, don't you? You can, but it's tricky, isn't it?
Is Primer Necessary After Patching?
You're wondering if primer's necessary after patching, considering your priming procedure and patching techniques, it's usually a good idea to prime for a smooth finish, don't you think?
Can I Patch Over Moldy Drywall?
You're dealing with moldy drywall, so you're considering patching, but you should be replacing moldy drywall, evaluating structural integrity first, to safeguard your safety and home's stability, isn't it?