
You'll assess the crack, gathering materials and tools, then prepare the area for repair. Apply spackling compound, sand, and smooth the area. Finally, paint and add finishing touches. By following these steps, you'll fix the crack and prevent future ones. You're on your way to a seamless repair, and with a few more tips, you'll achieve a professional-looking result.
Assessing the Crack
As you're dealing with cracks in your drywall walls and ceilings, it's vital to assess the crack before attempting any repairs. You're taking the first step towards a safe, stable home.
Determine the crack's origin, and start monitoring its progression. This helps you understand the issue, ensuring you make the right repairs, and feel more in control of your space, which is indispensable for your well-being and sense of belonging.
Professional drywall repair services can provide expert guidance in identifying the root cause and extent of wall or ceiling cracks, ensuring a comprehensive and lasting solution.
Gathering Materials and Tools
You've taken the first step by evaluating the crack, now it's time to gather what you need to fix it. When inspecting drywall, you're identifying problem areas. Professional drywall contractors in Erie, PA recommend using high-quality materials for the best repair results. Gather a putty knife, joint compound, and sandpaper to start fixing the crack. Don't forget a paintbrush and paint to match your wall's color. Having these materials will help you feel more in control of the repair process, making it less overwhelming. You're one step closer to a smooth, crack-free wall.
Preparing the Area for Repair
Before starting the repair, it's pivotal to clear the area around the crack. You're taking the first step towards a smoother wall.
Consider:
- Checking for underlying issues
- Evaluating crack severity
- Removing furniture and coverings
- Cleaning the area, you'll guarantee a successful repair, and feel more in control of the process.
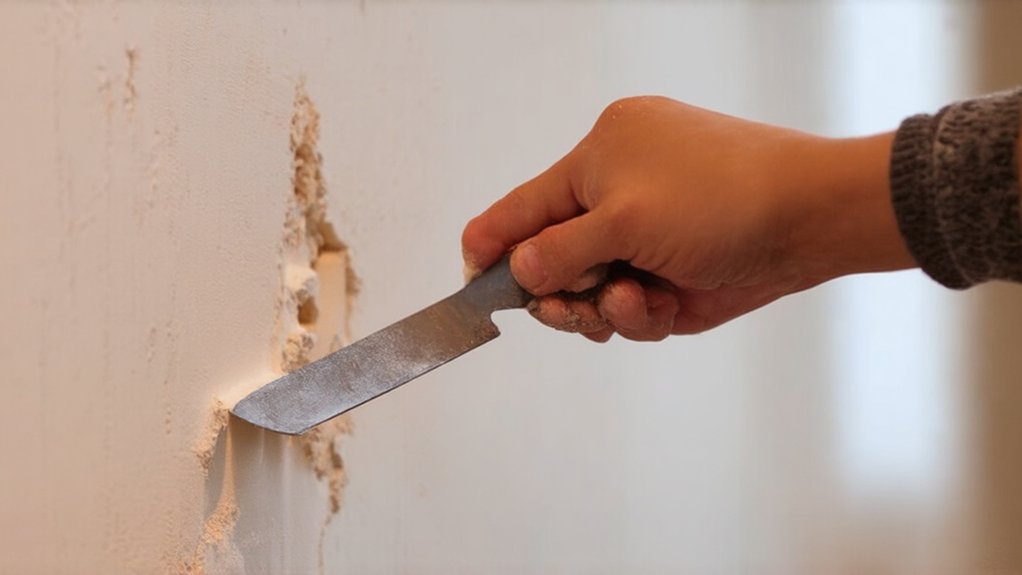
Applying Spackling Compound
Now that your area is clear and ready, it's time to focus on the crack itself. You're working towards achieving a smooth finish. Apply spackling compound, troubleshooting common issues as you go.
Fill the crack, then use a putty knife to spread it evenly. Don't overfill, it's easier to add more compound than to remove excess. Work carefully, you're getting closer to a flawless repair, and a sense of accomplishment will follow.
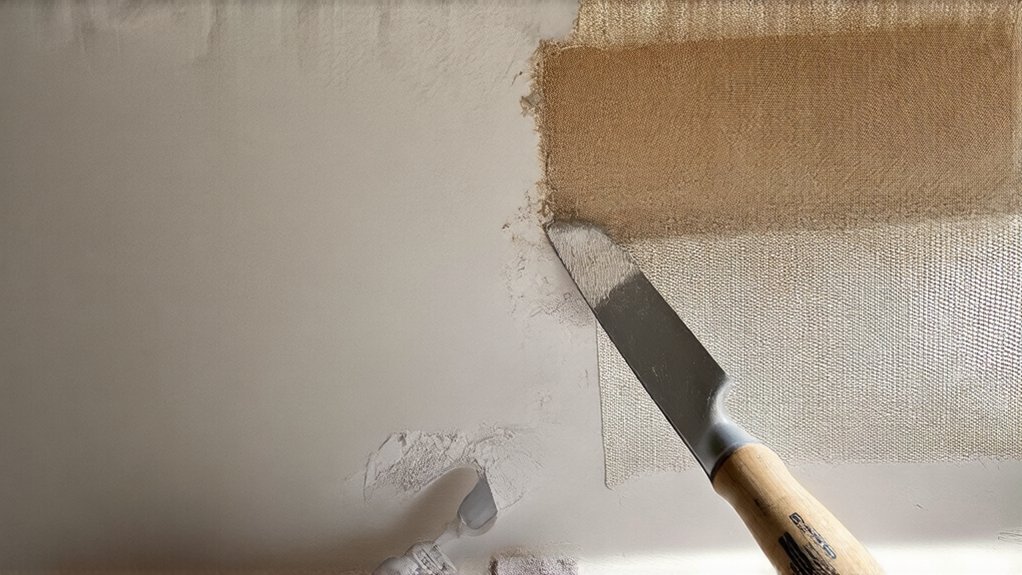
Sanding and Smoothing the Area
Several layers of spackling compound may be needed to fill the crack, and it's vital to let each layer dry completely. You're getting closer to a smooth wall.
To achieve this, consider:
- Feathering the edges
- Sanding lightly
- Smoothing the area
- Achieving a smooth finish.
Painting and Finishing Touches
You've made significant progress in repairing that crack, and it's time to focus on painting and finishing touches.
Now, consider color selection to match your wall's original hue. Guarantee texture matching by applying the same finish as the surrounding area. This attention to detail will help your repair blend in seamlessly, making it nearly invisible.
With careful painting and finishing, you'll achieve a professional-looking result, feeling proud of your handiwork and relieved that the crack is gone.
Preventing Future Cracks
Finishing your repair is a huge relief, and it's great that your wall or ceiling looks good as new. You're part of a community that values home maintenance.
To prevent future cracks, consider:
- Timely reapplication of joint compound
- Professional inspections
- Regular checks for damage
- Fixing issues promptly, showing you care about your home's well-being and your own.
Frequently Asked Questions
Can I Repair Cracks at Night?
You can work at nighttime for convenience, but consider lighting, it's vital, and you're not alone, many DIYers tackle tasks at night for the same nighttime convenience and flexibility that you do.
How Long Does Repair Take?
You'll finish repairs quickly with rapid drying time, and you're doing great, ensuring proper preparation helps you complete the task efficiently, feeling accomplished and part of a community that fixes things.
Is Repair Suitable for DIY?
You'll find DIY repair suitable if you use suitable materials and command correct techniques, making you feel accomplished and part of a community that fixes things themselves, isn't it?
Can I Use Glue Instead?
You're looking for alternatives, and you can use glue, considering Spackle alternatives or Caulk based solutions, which might work for you, joining others who've successfully tried these methods, too.
Are Cracks a Sign Weakness?
You're wondering if cracks signal weakness, right? Cracks can compromise structural integrity, indicating potential damage, so it's critical you address them to preserve your space remains safe and welcoming.