Constructing drywall can convert your home without depleting the bank. You'll need to prepare your workspace, precisely calculate and cut panels, and affix them firmly. The secret is taking your time with each step: attach panels systematically, tape and mud joints smoothly, and sand meticulously. By following a methodical approach and maintaining patience, you'll achieve professional-looking walls that elevate your living space. Keep exploring to open up more home improvement secrets.
Preparing the Workspace
When you're about to install drywall, preparing the workspace is essential. You're taking a big step towards a beautiful home.
Clearing the area helps you work efficiently. Protecting surfaces, like floors and countertops, is crucial. It saves you from damage and stress.
Take your time, and don't rush this process. You'll be glad you did, and it'll make the installation process smoother. Experienced drywall contractors recommend having the right tools and protective equipment before beginning the project.
Measuring and Cutting Drywall
As you move forward with your drywall installation, measuring and cutting the drywall precisely is vital. You're part of a community that values DIY projects, so selecting drywall thickness is crucial. High-density drywall options can provide additional benefits like moisture resistance and improved fire ratings, depending on your specific project requirements.
Consider maximizing material usage to reduce waste, and choose the right thickness for your needs. This will help you feel more confident and connected to your project, ensuring a successful installation that makes you feel proud of your accomplishment.
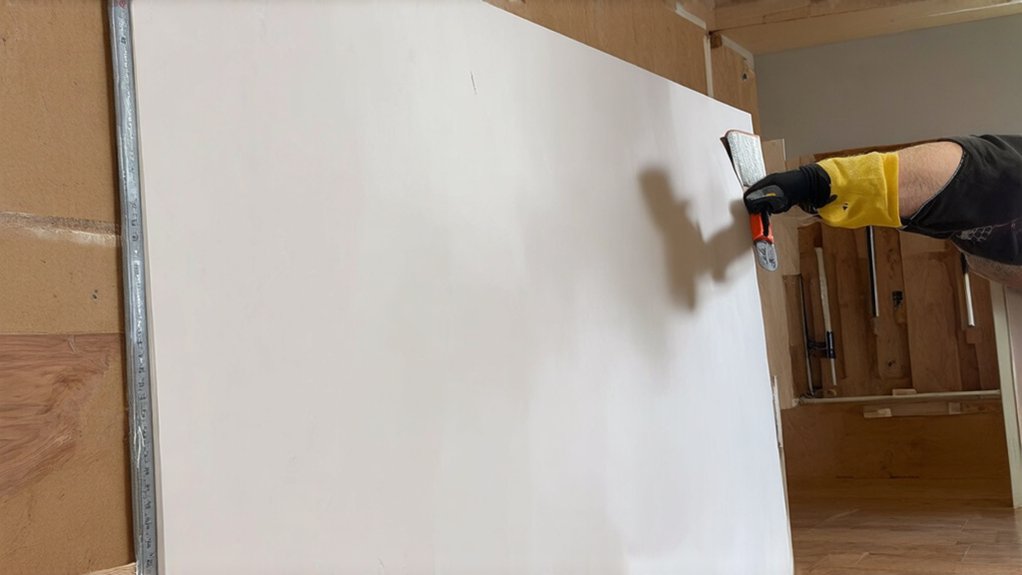
Hanging Drywall Panels
You're taking a pivotal step by hanging drywall panels, which requires attention to detail. You're part of a community that values home improvement, and attaching panels securely is vital.
Minimizing seams is essential for a smooth finish. Take your time, and don't hesitate to ask for help if needed. By following these steps, you'll be on your way to a professional-looking result, and you'll feel a sense of accomplishment and belonging in your newly improved home.
Attach panels securely, and minimize seams for a great finish.
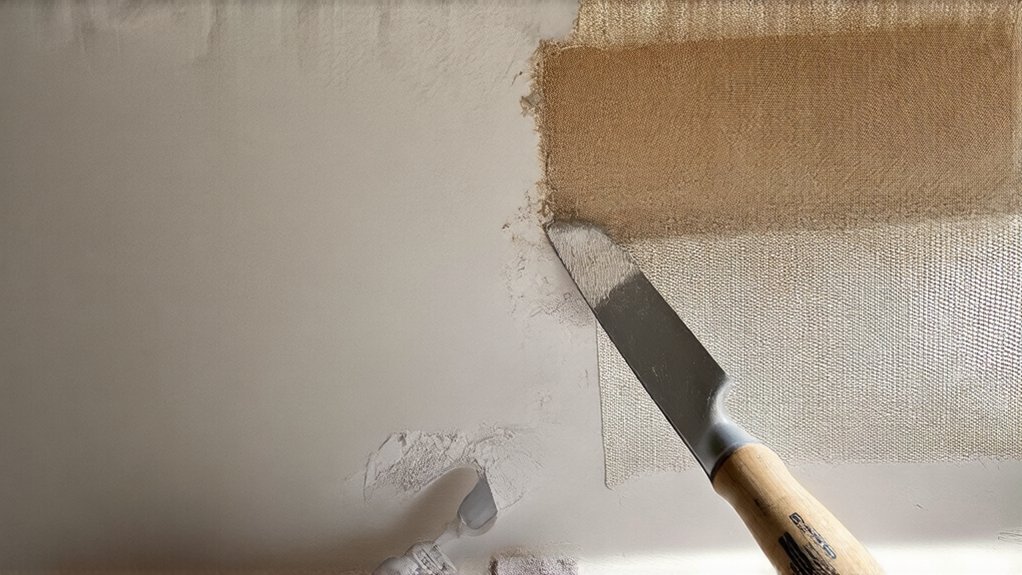
Taping and Mudding Joints
After hanging drywall panels, the next critical step in achieving a polished wall surface is taping and mudding the joints. You'll need to apply smoothing compound carefully, ensuring proper joint reinforcement with self-adhesive mesh tape.
Start by covering every seam and screw head, spreading the compound evenly with a wide drywall knife. Work methodically, applying thin layers and allowing each to dry completely before sanding. Don't worry if your first attempt isn't perfect; practice makes progress.
Patience and attention to detail will help you create smooth, professional-looking walls that you'll be proud to show off.
Sanding and Finishing
Once the mudding is complete, sanding becomes the next crucial step in achieving a flawless wall surface. You'll want to use fine-grit sandpaper and move in smooth, even strokes to create a uniform texture. Be careful not to sand too aggressively, which can damage the joint compound and create unwanted gouges.
After sanding, you'll need to seal drywall surfaces to protect them and create a perfect base for painting. Take your time and avoid common mistakes like over-sanding or leaving uneven patches. Your patience will pay off with professional-looking walls.
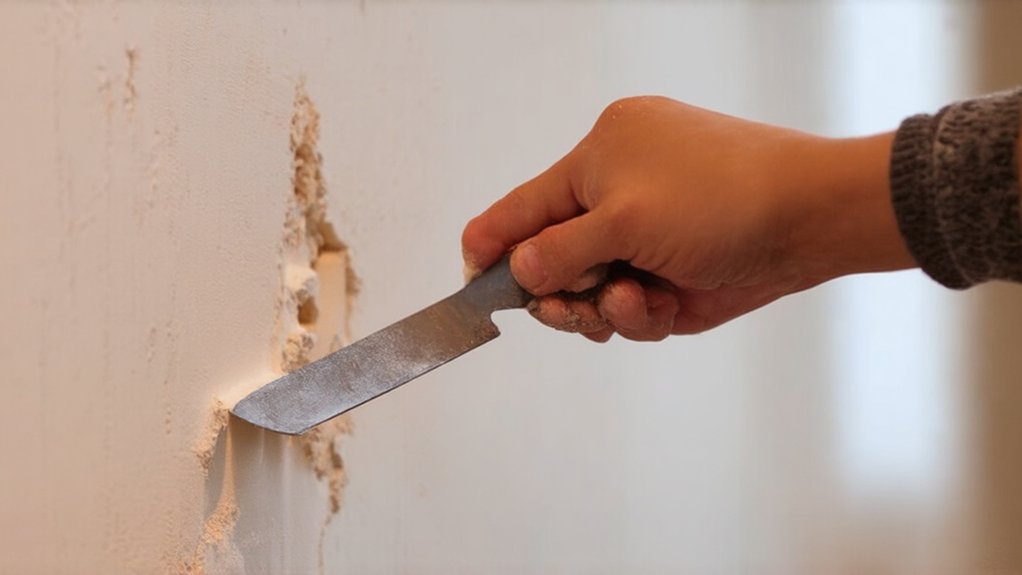
Inspecting and Repairing Drywall
Smooth walls can quickly reveal imperfections that need attention, making thorough inspection a key part of your drywall project. When evaluating drywall condition, you'll want to carefully examine each surface for cracks, dents, or uneven areas.
Identifying problem areas requires good lighting and a critical eye. Run your hand gently across the wall, feeling for subtle bumps or depressions. Look closely for hairline cracks, especially near seams and corners.
Small imperfections can often be fixed with joint compound and careful sanding. Don't get discouraged – most wall issues are easily repairable with patience and the right technique.
Frequently Asked Questions
How Long Does a Typical Drywall Installation Project Take for a Beginner?
You'll likely spend 2-3 days on your first drywall project, depending on room size and complexity. Your project timeline considerations might stretch longer as you learn, but don't get discouraged—drywall installation timeline varies with skill and patience.
What Tools Do I Absolutely Need Before Starting My Drywall Project?
You'll need a utility knife, drywall saw, measuring tape, T-square, drill, screws, and mud pan. Learn proper drywall thickness selection and cutting techniques. Your toolkit's the foundation for a successful project that'll make you feel like a true home improvement pro.
Can I Install Drywall by Myself, or Do I Need Professional Help?
You'll need decent DIY skills and spatial awareness to tackle drywall solo. If you're comfortable with precise measurements and patient work, you can do it. For complex areas, don't hesitate to consult a pro who'll guide you through tricky spots.
How Much Does It Cost to Complete a Basic Drywall Installation?
You'll spend roughly $300-$800 on estimated material costs, but your total project budget could reach $1,500 depending on room size. DIY can save you money, and you'll feel proud of your home improvement skills.
What Are the Most Common Mistakes Beginners Make When Installing Drywall?
You'll likely struggle with improper seam finishing and forget vital dust protection. These rookie errors can ruin your hard work, making your walls look unprofessional and potentially damaging your workspace and health.